To extract original image files from a Word document and check their resolution, do the following:
1. In Windows Explorer (Windows 7) / File Explorer (Windows 8/10), check the file extension of your Word document! These instructions will work only for a .docx file.
→ If you can't see the file extension, follow these instructions to fix that.
2. Make a copy of the .docx file.
3. Rename the copy, changing the file extension from .docx to .zip.
→ Windows will warn you that “if you change the file extension, the file may become unusable.” You can safely ignore this warning, since (a) it's unlikely to be true in this case; and (b) you’ve already covered your bases by working with a copy of the file, not the original.
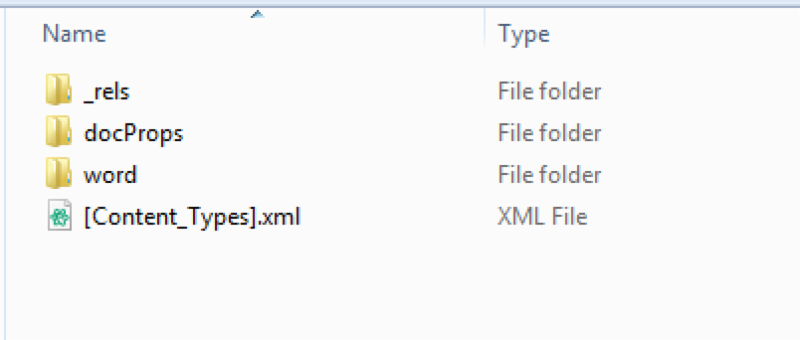
4. Once you’ve created your .zip file, you should be able to open it as you normally would. You’ll see a list of folders, like this:
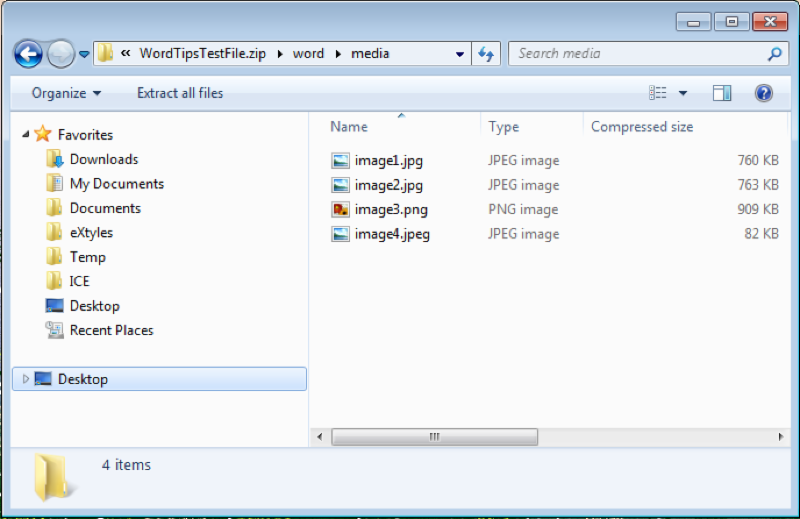
You’ll find the image files in word>media:
5. You can now extract the files from the .zip, rename them for your workflow, check the resolution, and work with them as needed. If necessary, you can request new, higher-resolution files from the author.
→ If the author has edited images within Word (e.g., by adding arrows or text on top of the image), image files extracted using this method will not include those edits!